These vegan mini peanut butter chocolate cheesecakes, are rich, sweet, and so indulgent. They’re made with just 6 ingredients, gluten free, and naturally sweet.
Sooo I know I just shared a divine PB chocolate treat.
But once I turned my favorite buckeyes into rich, gooey brownies, I just had to do make a buckeye-inspired version of my favorite dessert, ya know?
I HAD to.
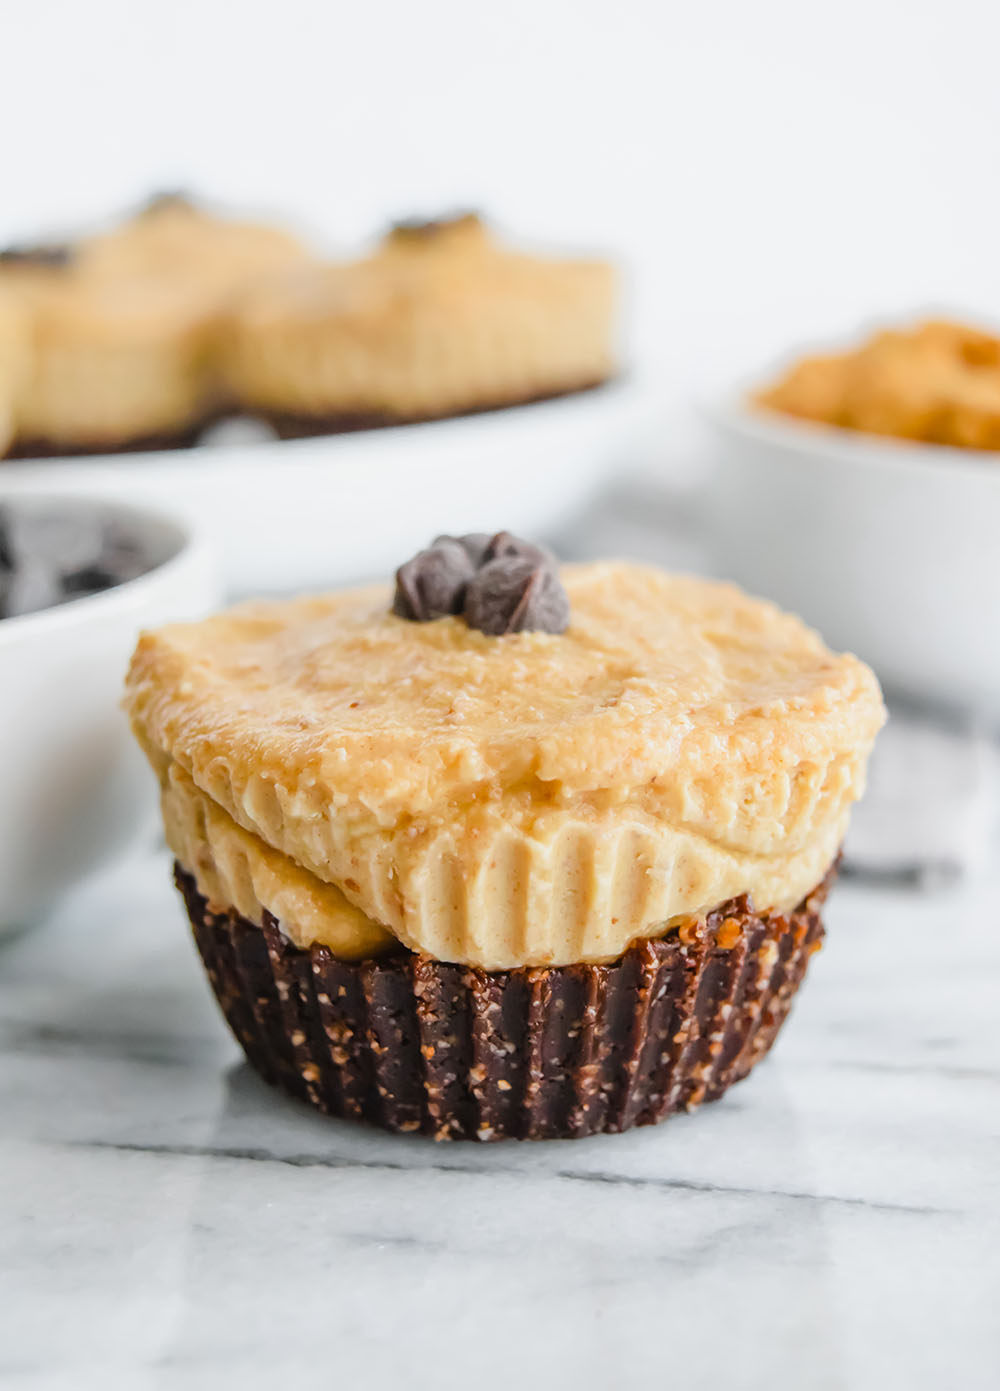
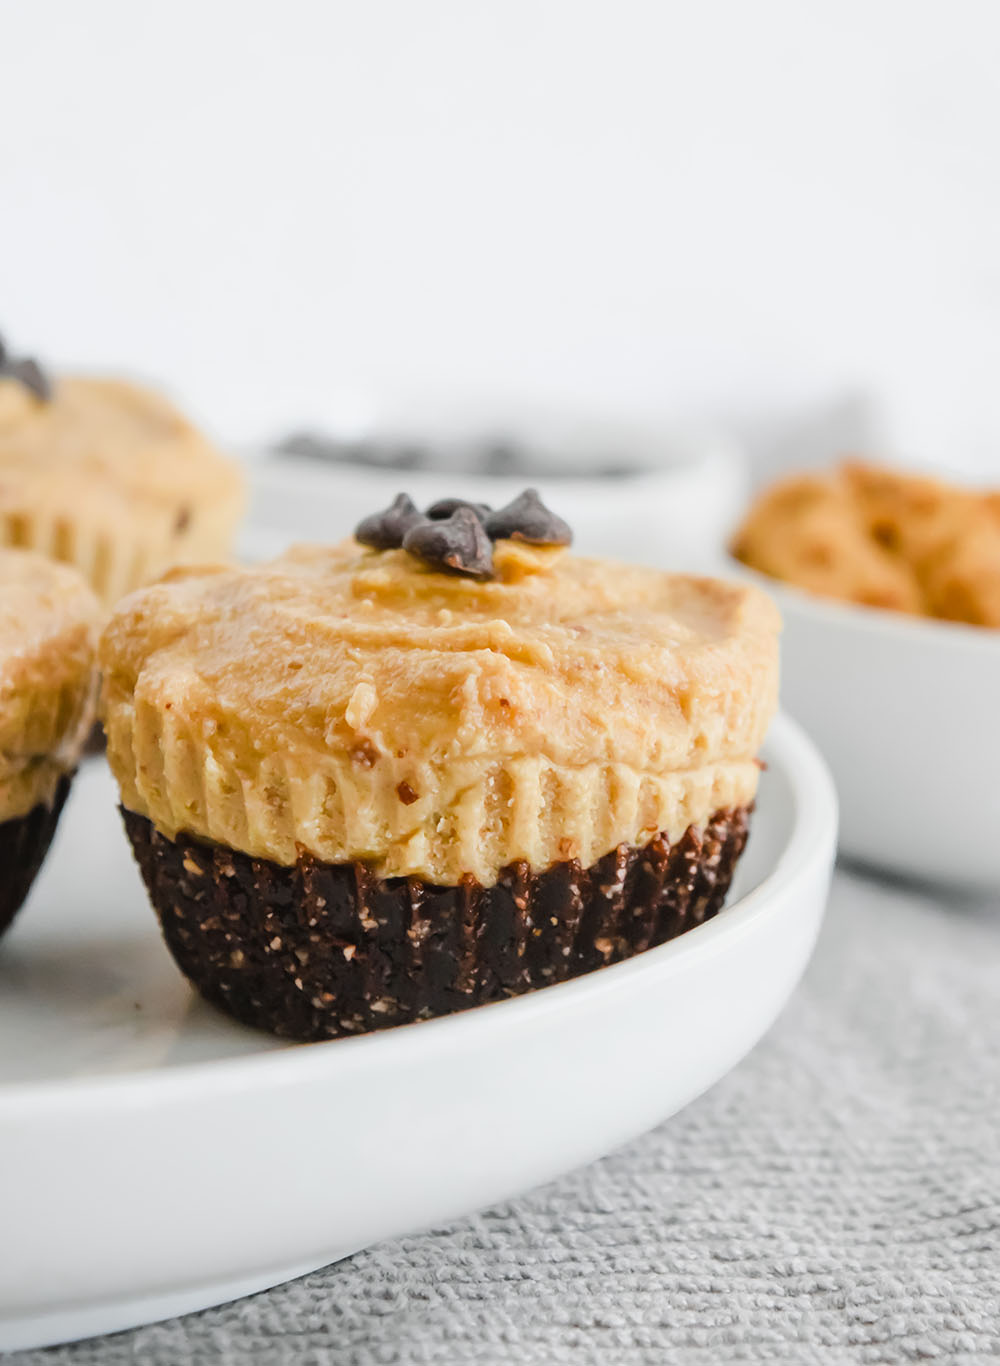
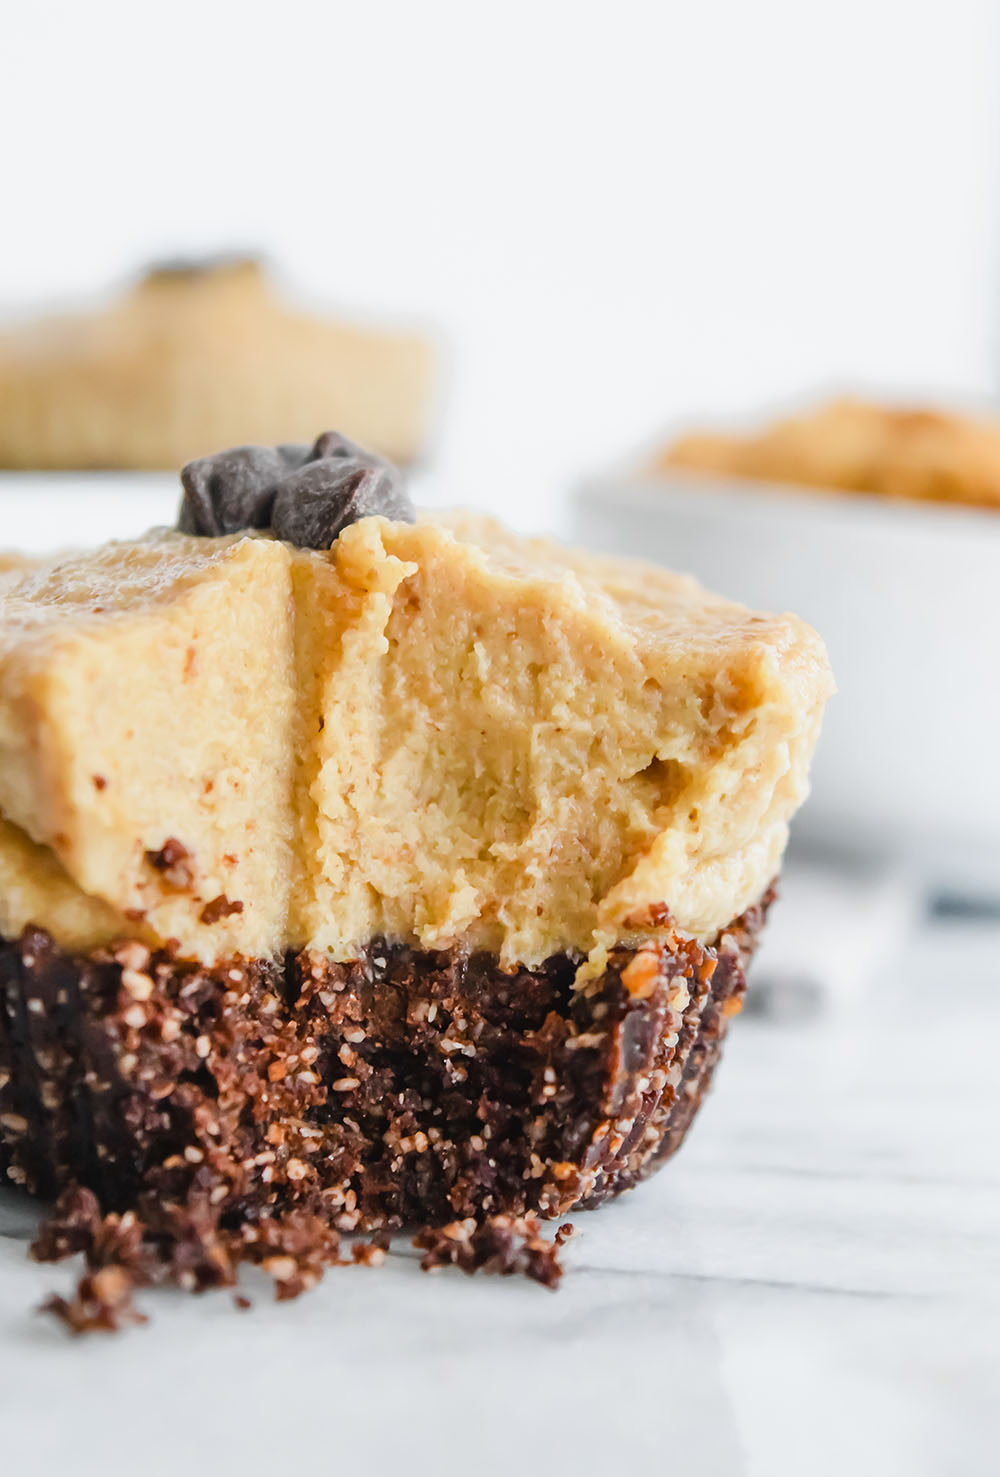
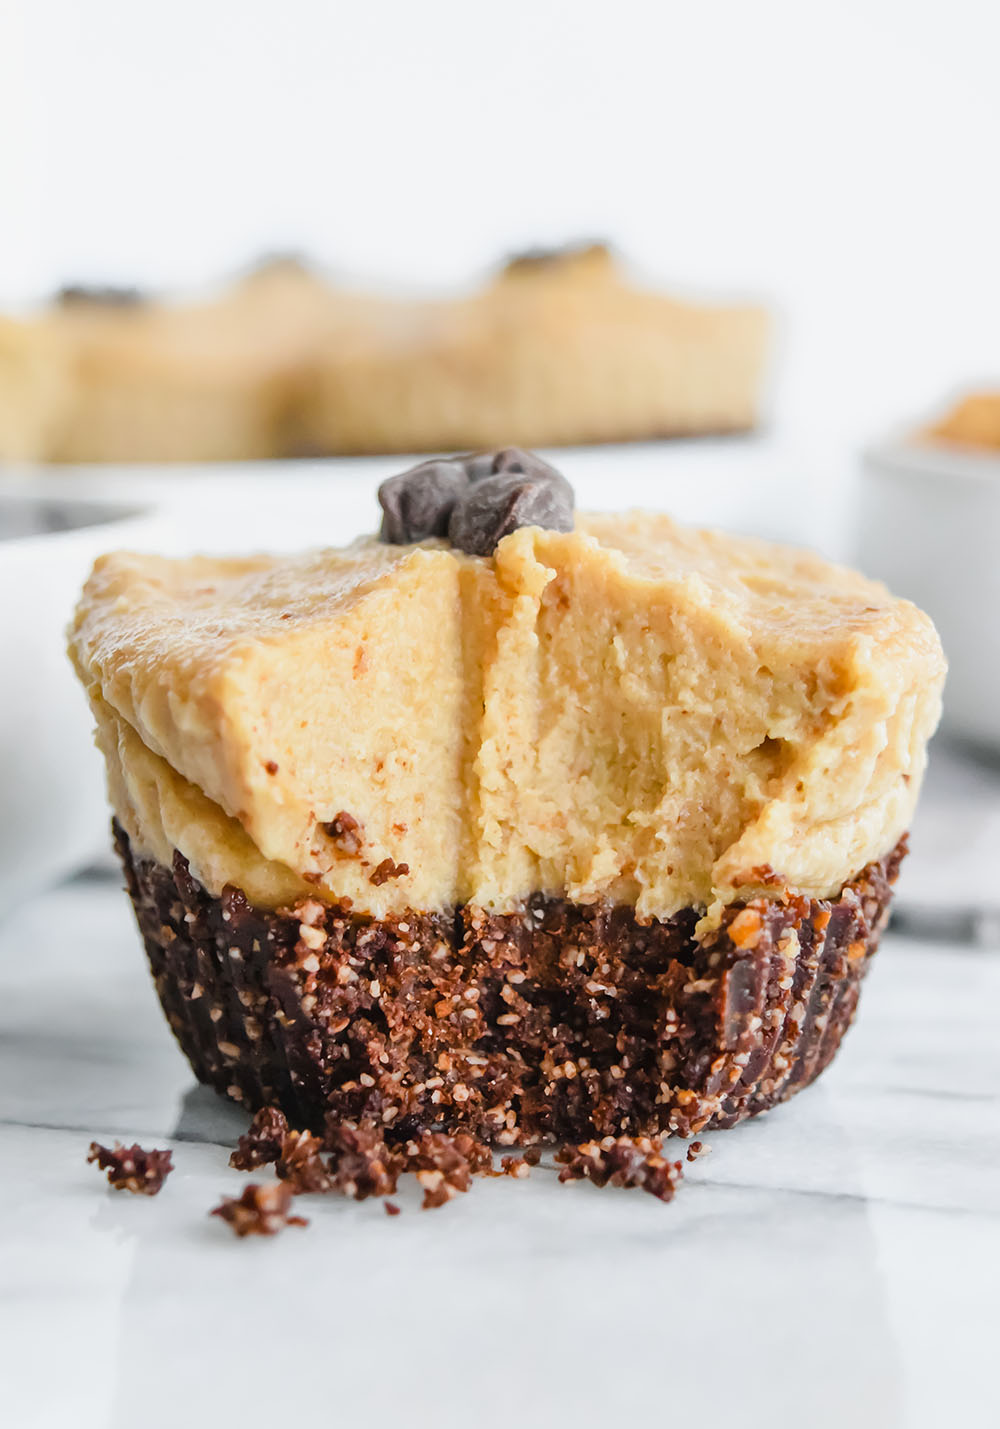
So today, we’re making vegan mini peanut butter chocolate cheesecakes! Rich, creamy, peanut buttery cheesecake on top of a chewy, sweet, chocolate crust. These were inspired by my fave buckeyes, but also the best halloween candy, the peanut butter cup.
And I’ll be real…these are 10x better than a PB cup. I know, I know! But they’re that good, and it’s just a plus that you only need a few wholesome ingredients, and there’s no baking necessary.
Ingredients for vegan mini peanut butter chocolate cheesecakes
- Raw almonds: raw almonds are the base of the crust for the cheesecake, and they’re super nutrient-dense and a great healthy fat source.
- Cacao powder: cacao powder gives the crust chocolate flavor and is full of antioxidants.
- Medjool dates: dates give both the crust and the filling sticky, caramel-like, totally natural fruit sweetness.
- Raw cashews: you’ll soak the cashews in water which helps them blend into a super lush, rich and creamy filling.
- Peanut butter: make sure to get oil-free, unsweetened peanut butter. The only ingredients should be peanuts and maybe a bit of salt. This flavors the cheesecake filling, giving those amazing peanut butter cup vibes.
- Apple cider vinegar: just a bit of apple cider vinegar makes a HUGE difference and really rounds out the cheesecake filling with just a bit of tang.
Tips for making vegan mini peanut butter chocolate cheesecakes
- Start with the crust, then move on to the filling. First you’ll blend the almonds, cacao powder, and dates in the food processor, and press that slightly crumbly, sticky mixture into a lined cupcake pan. For the filling, you’ll rinse the food processor and then blend the cashews, more dates, peanut butter, vinegar, and water until totally smooth and creamy. Spread the filling on top of the crust, and they’re ready for the freezer.
- Use silicone liners for easy removal. I use these silicone liners and HIGHLY recommend something similar (or lining with parchment paper), because it makes removal later super easy.
- Freeze for at least 2 hours. Right after you layer them, the cheesecakes will need to freeze for at least 2 hours (longer is great, too). This helps them to set up.
- Store in the fridge or freezer, depending on the texture you prefer. After the initial 2 hours of freezing, take them out for about 15 minutes to thaw at room temperature before eating. From there you can store in the fridge or freezer, depending on the texture you like. I prefer mine pretty soft so I like the fridge, my husband loves them more firm so we keep a few for him in the freezer.
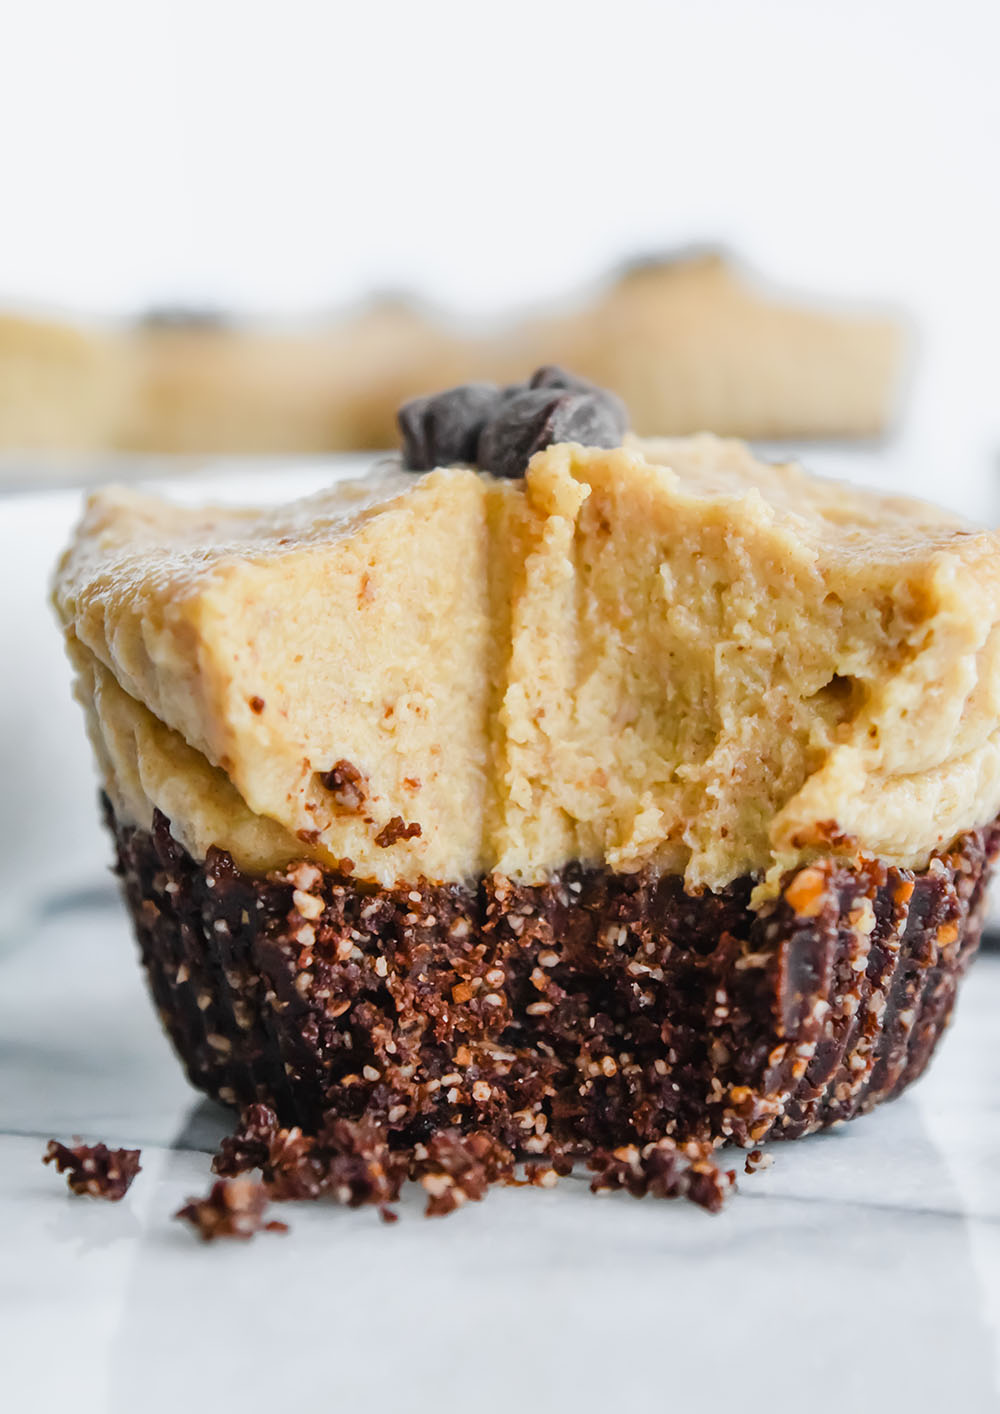
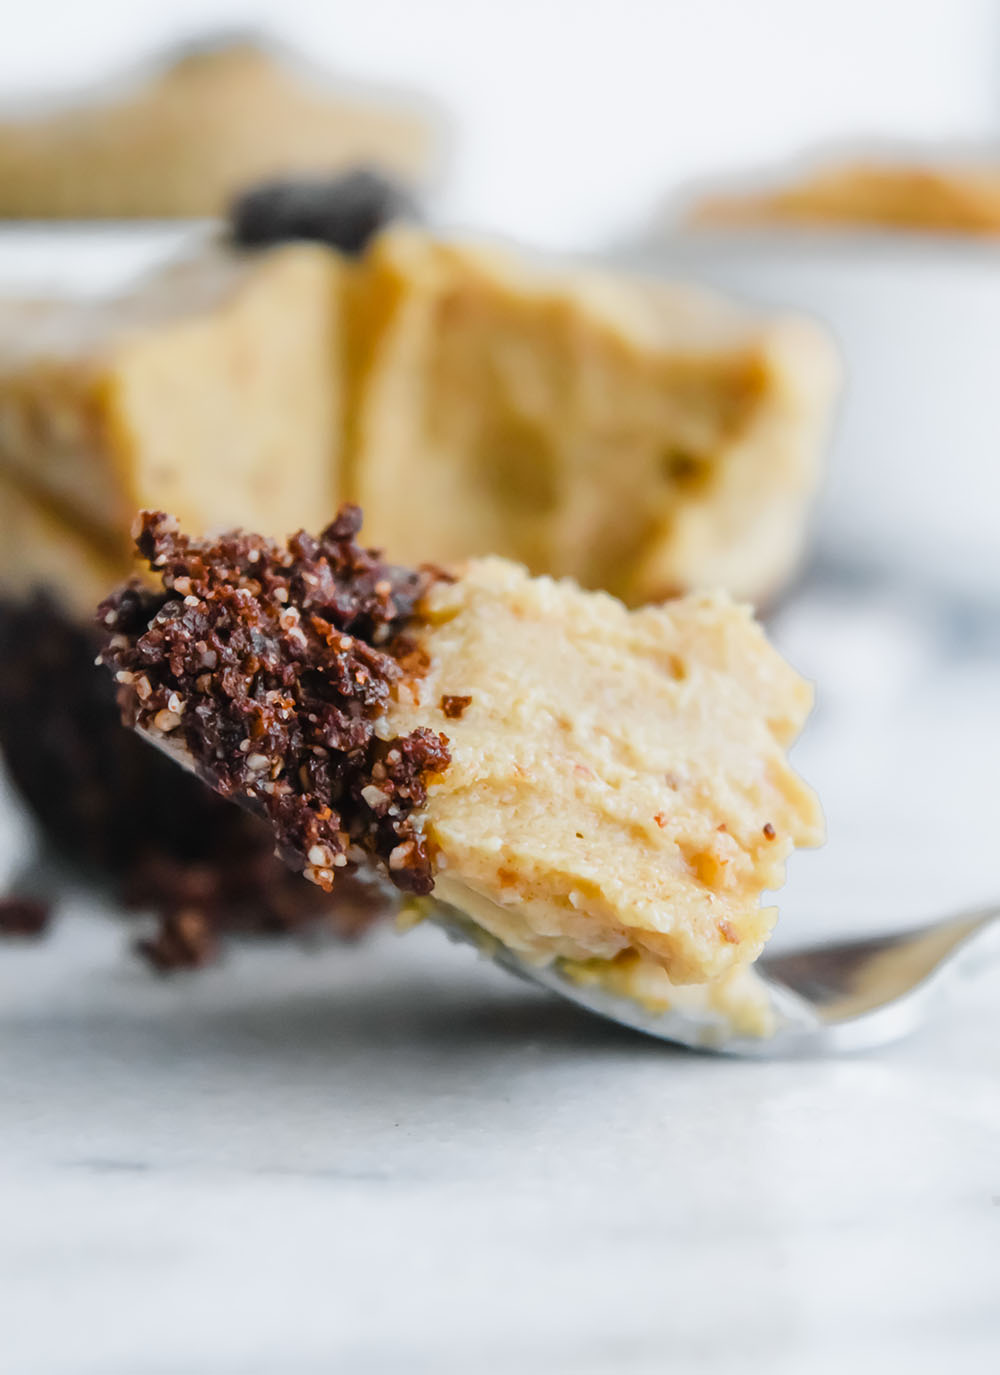
These vegan mini peanut butter chocolate cheesecakes are the definition of indulgent, but all you need is a few simple, healthy and wholesome ingredients. The combination of chocolate + peanut butter is always a winner, and these are no exception.
Xo,
Sara
Vegan Mini Peanut Butter Chocolate Cheesecakes
Ingredients
Crust
- 3/4 cup raw almonds
- 1/4 cup cacao powder (regular unsweetened cocoa powder also works)
- 8 pitted medjool dates
Filling
- 3/4 cup raw cashews – soaked for at least 2 hours or overnight in water, then drained
- 8 pitted medjool dates
- 1/4 cup natural, unsweetened, oil-free peanut butter
- 1 tbsp apple cider vinegar
- 1/4 cup water
Instructions
- To make the crust, pulse the almonds and cacao in the food processor until the almonds are mostly broken down, then add the 8 dates and blend until they form a sticky, slightly crumbly dough, about 3-5 minutes.
- Press 2 tbsp of the mixture into the bottom of 6 lined cupcake tins – I highly recommend using silicone liners for easy removal – then set aside while you make the filling.
- To make the filling, add the soaked cashews, dates, peanut butter, apple cider vinegar, and water to the food processor and blend until totally smooth and creamy, stopping occasionally to scrape down the sides with a spatula to make sure everything is incorporated.
- Put about 3 tbsp of the filling mixture on top of each crust, then set in the freezer for at least 2 hours. When you're ready to eat, set them out for 15 before so they can soften a bit. Top with a few vegan chocolate chips if desired, and enjoy!
- Store leftovers in the refrigerator or freezer depending on the texture you like – fridge will make them much softer, keeping in the freezer keeps them more firm but you'll have to set them out to thaw before you eat them!


