

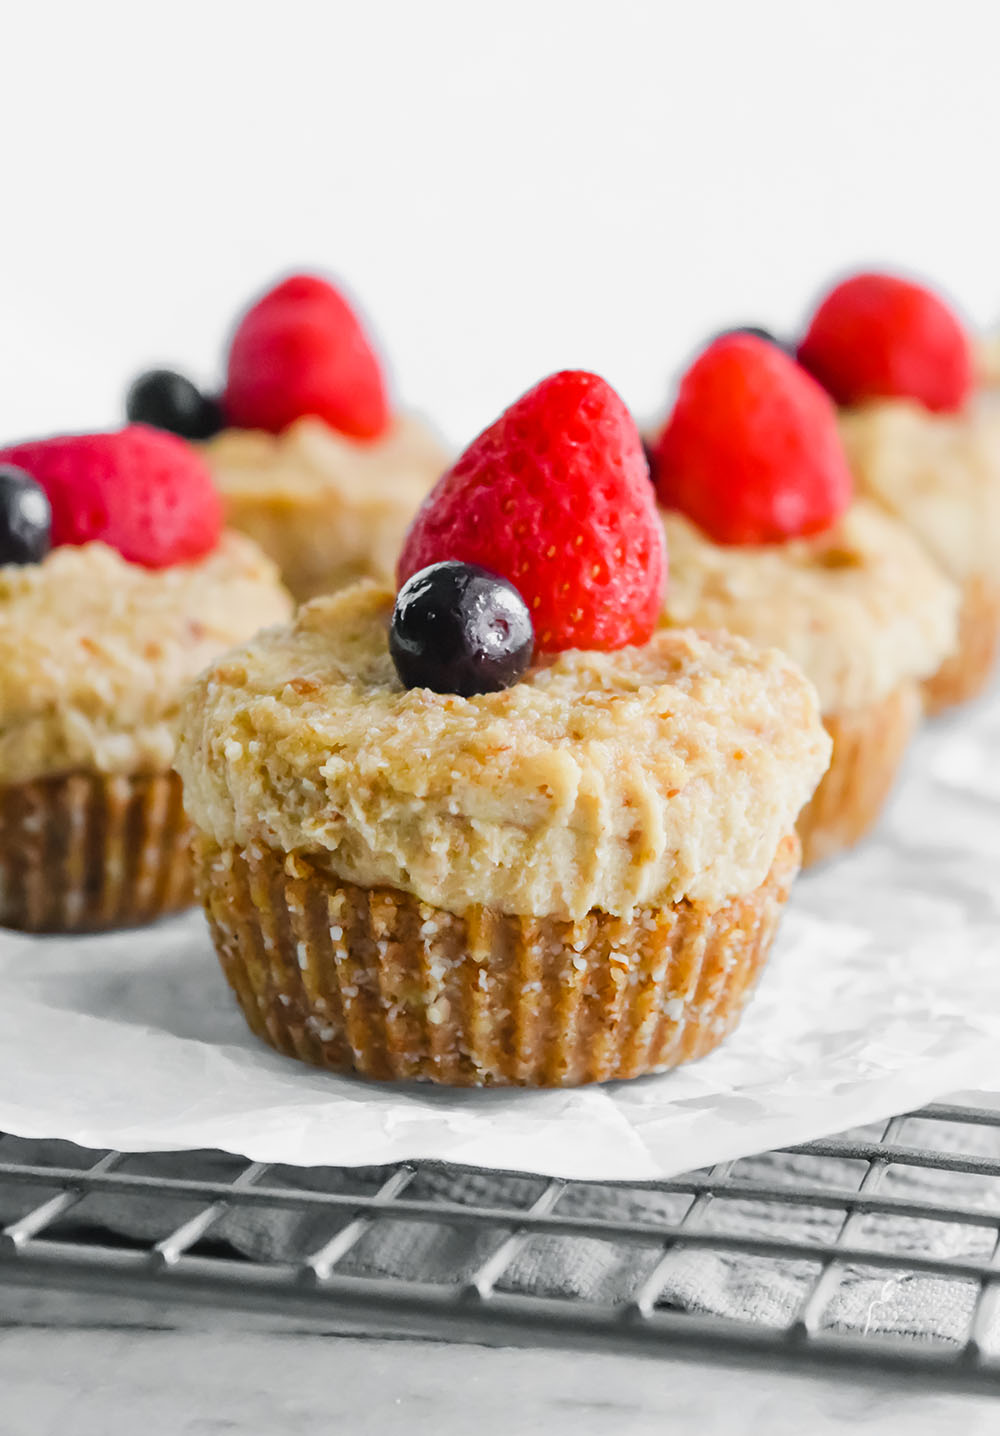
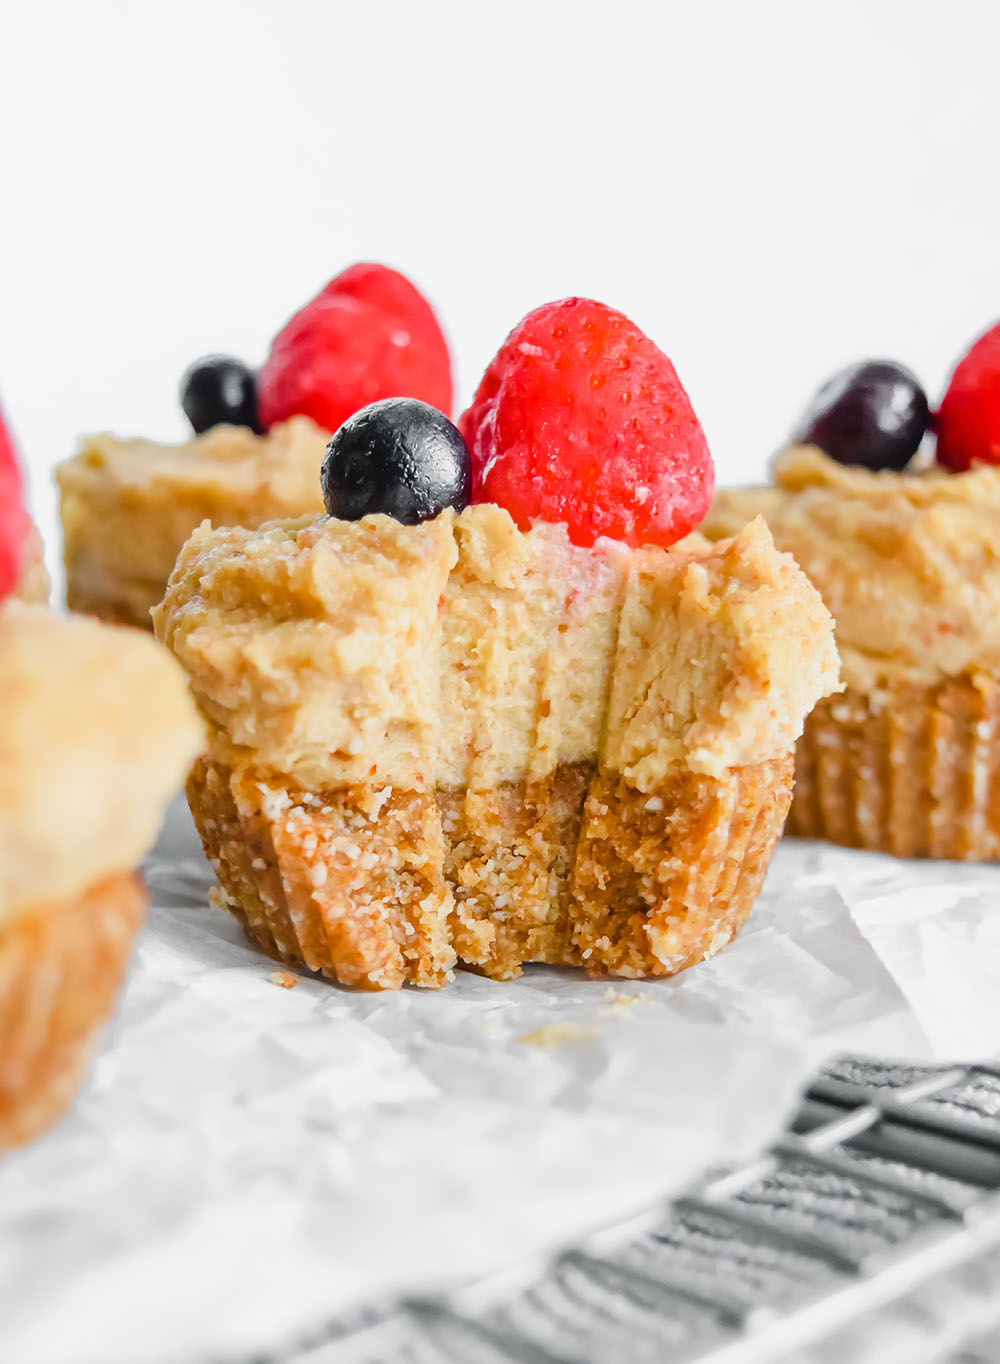
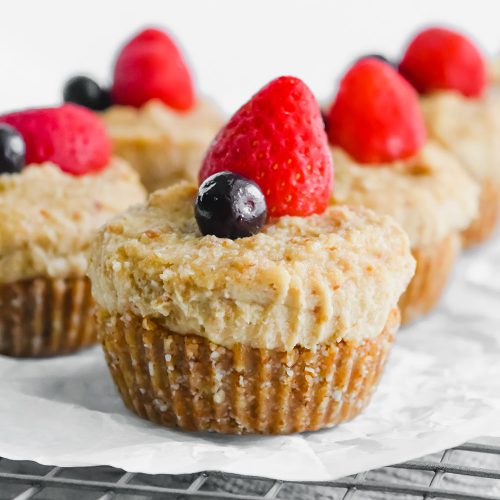
These vegan mini cheeseakes are rich, creamy, and the perfect personal size for a sweet treat! They’re totally no bake and made with just 4 healthy base ingredients.
Happy Monday! I made you cheesecake. Specifically, vegan mini cheesecakes, meaning you get one all to yourself.
As a former kindergarten teacher normally I’m all about sharing, but when it comes to cheesecake…that goes out the window. I’m throwin’ elbows to make sure I get my own, personal, mini sweet treat (or 3). Because honestly, cheesecake is one of my all time favorite things to make when it comes to desserts, period.
These gems are super simple, made with just 4 ingredients, and the result is SO rich and decadent. You’d never know they’re healthy.
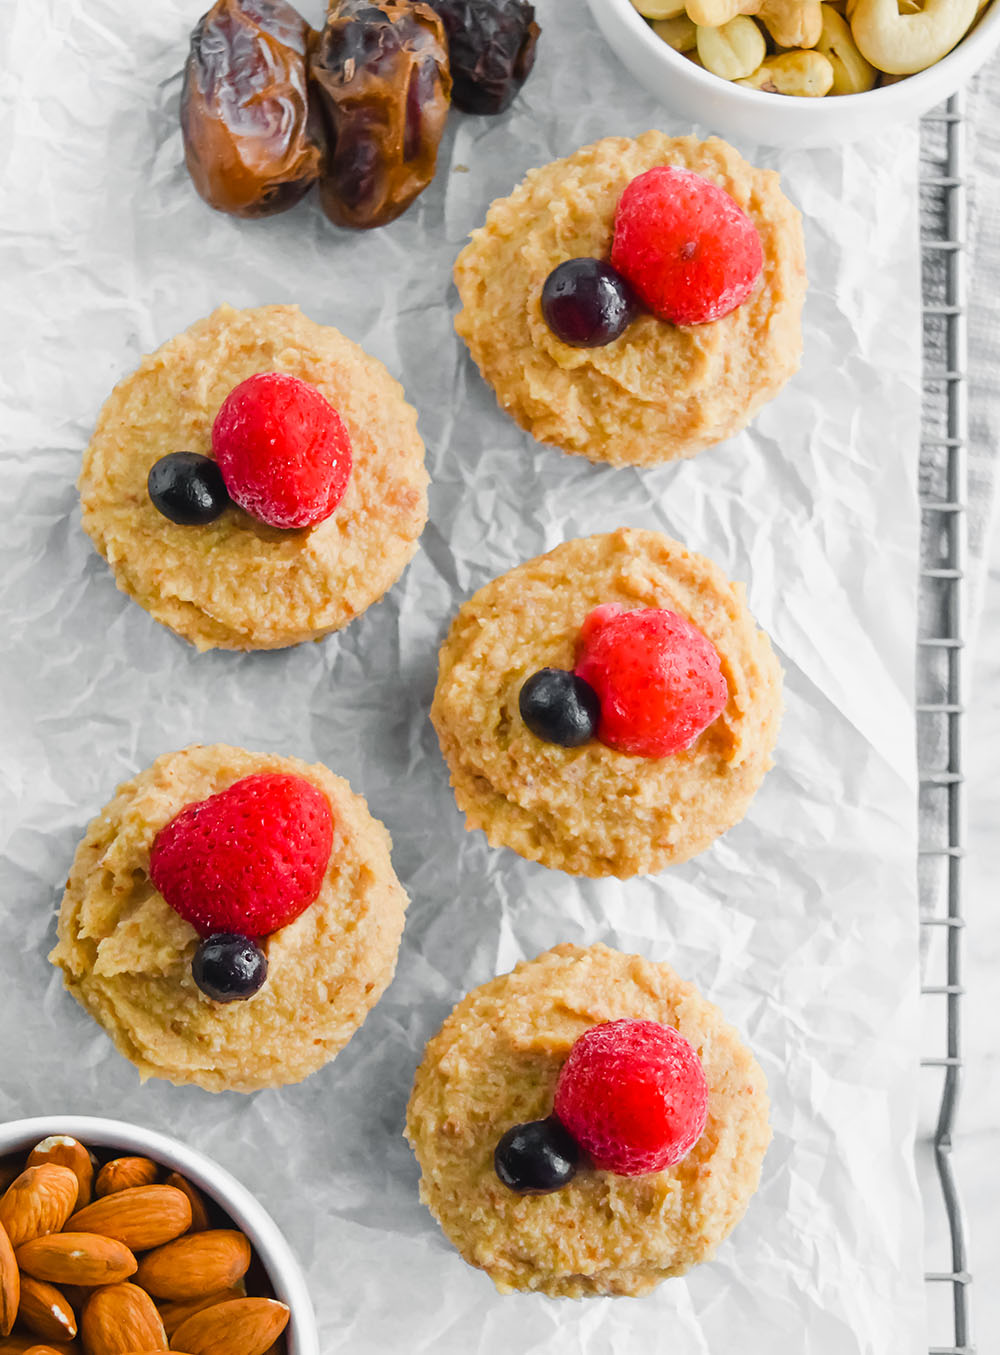
Ingredients for making vegan mini cheesecakes
- Raw almonds: raw almonds are the base of the crust for the cheesecake, and they’re super nutrient-dense and a great healthy fat source.
- Medjool dates: dates give both the crust and the filling sticky, caramel-like, totally natural fruit sweetness.
- Raw cashews: you’ll soak the cashews in water which helps them blend into a super lush, rich and creamy filling.
- Apple cider vinegar: just a bit of apple cider vinegar makes a HUGE difference and really rounds out the cheesecake filling with just a bit of tang.
Tips for making vegan mini cheesecakes
- Start with the crust, then move on to the filling. First you’ll blend the almonds and dates in the food processor, and press that slightly crumbly, sticky mixture into a lined cupcake pan. For the filling, you’ll rinse the food processor and then blend the cashews, more dates, apple cider vinegar, and water until totally smooth and creamy. Spread the filling on top of the crust, and they’re ready for the freezer.
- Use silicone liners for easy removal. I use these silicone liners and HIGHLY recommend something similar (or lining with parchment paper), because it makes removal later super easy.
- Freeze for at least 2 hours. Right after you layer them, the cheesecakes will need to freeze for at least 2 hours (longer is great, too). This helps them to set up.
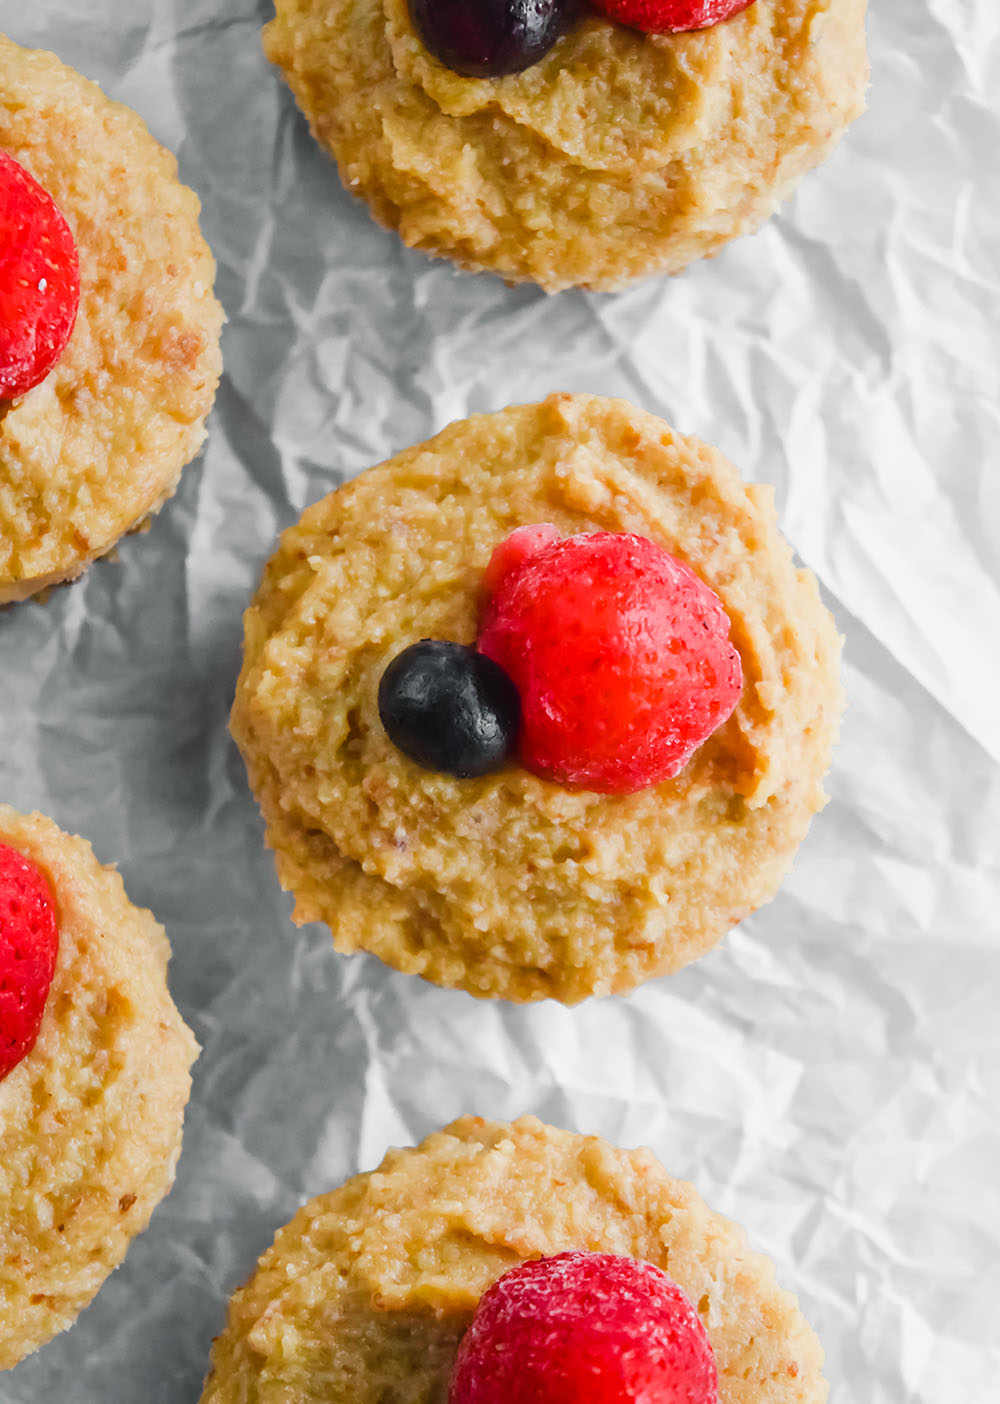
- Add whatever fun toppings you like. Any fruit, vegan chocolate chips, nuts, or a drizzle of nut butter would be amazing.
- Store in the fridge or freezer, depending on the texture you prefer. After the initial 2 hours of freezing, take them out for about 15 minutes to thaw at room temperature before eating. From there you can store in the fridge or freezer, depending on the texture you like. I prefer mine pretty soft so I like the fridge, my husband loves them more firm so we keep a few for him in the freezer.
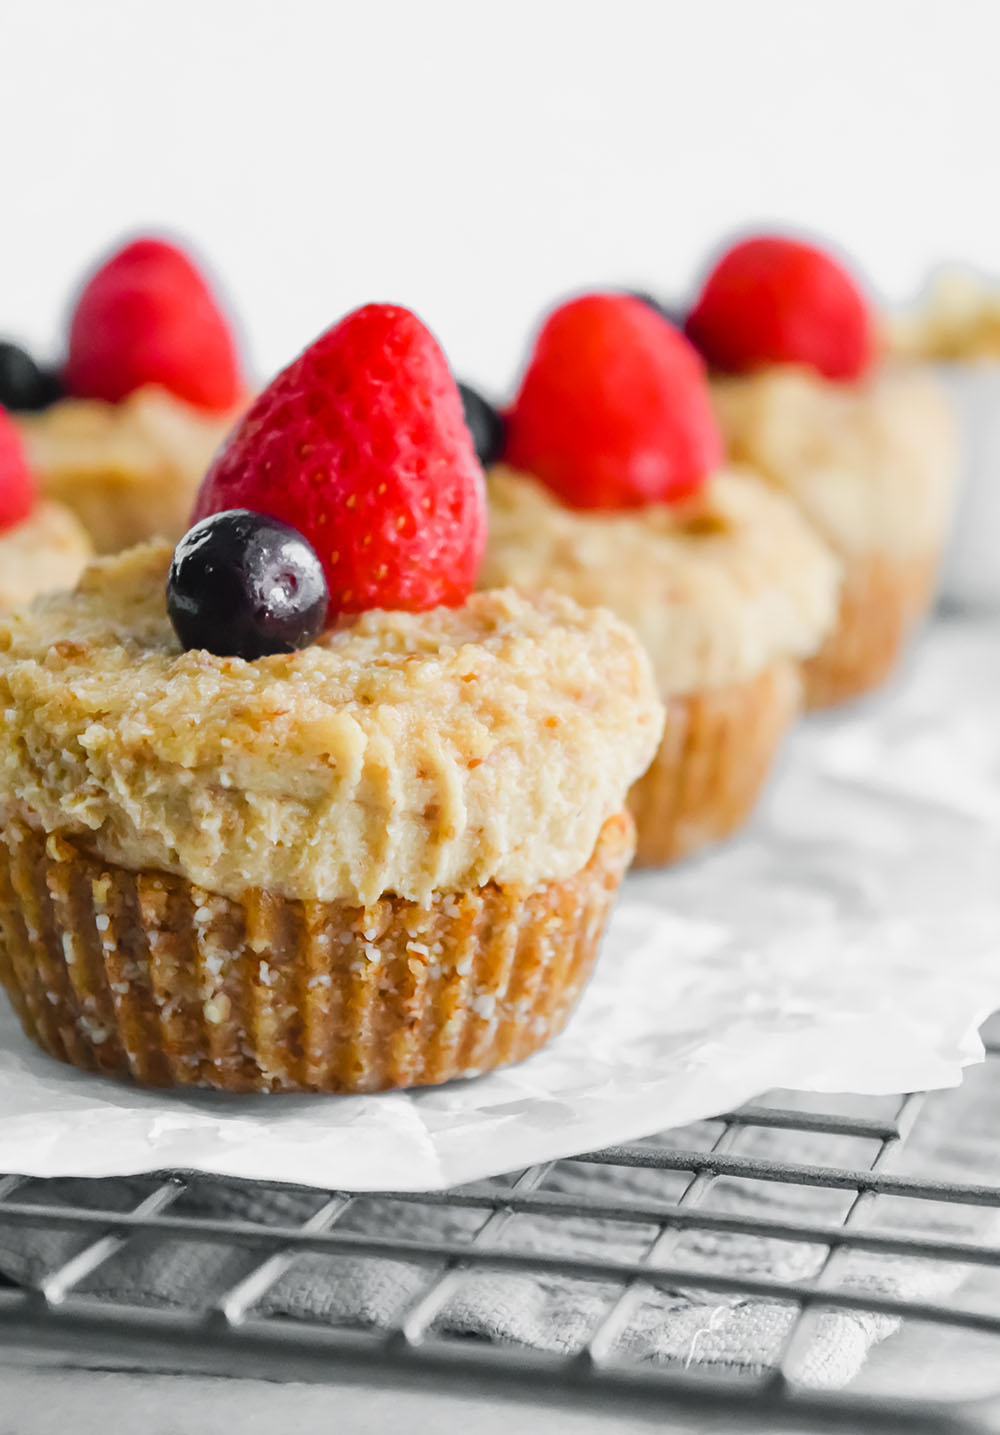
These vegan mini cheesecakes are the perfect combo of a sweet, chewy crust and that ridiculously rich and creamy filling. The mini size is perfect for this decadent treat, and it’s just a plus they’re made with 4 super simple, healthy ingredients.
I LOVE love loooove these, and I hope you guys do too!
Xo,
Sara
Vegan Mini Cheesecakes
Ingredients
Crust
- 1 cup raw almonds
- 6 pitted medjool dates
Filling
- 1 cup raw cashews – soaked for at least 2 hours or overnight in water, then drained
- 8 pitted medjool dates
- 1 tbsp apple cider vinegar
- 1/4 cup water
Instructions
- To make the crust, pulse the almonds in the food processor until they're mostly broken down, then add the 6 dates and blend until they form a sticky, slightly crumbly dough.
- Press 2 tbsp of the crust mixture into the bottom of 6 lined cupcake tins – I highly recommend using silicone liners for easy removal – then set aside while you make the filling.
- To make the filling, add the soaked cashews, dates, apple cider vinegar and water to the food processor and blend until totally smooth and creamy, stopping occasionally to scrape down the sides with a spatula to make sure everything is incorporated.
- Put about 3 tbsp of the filling mixture on top of each crust, then set in the freezer for at least 2 hours. When you're ready to eat, set them out for 15 before so they can soften a bit. Add any additional toppings of your choice and enjoy!
- Store leftovers in the refrigerator or freezer depending on the texture you like – fridge will make them much softer, keeping in the freezer keeps them more firm but you'll have to set them out to thaw before you eat them!
